

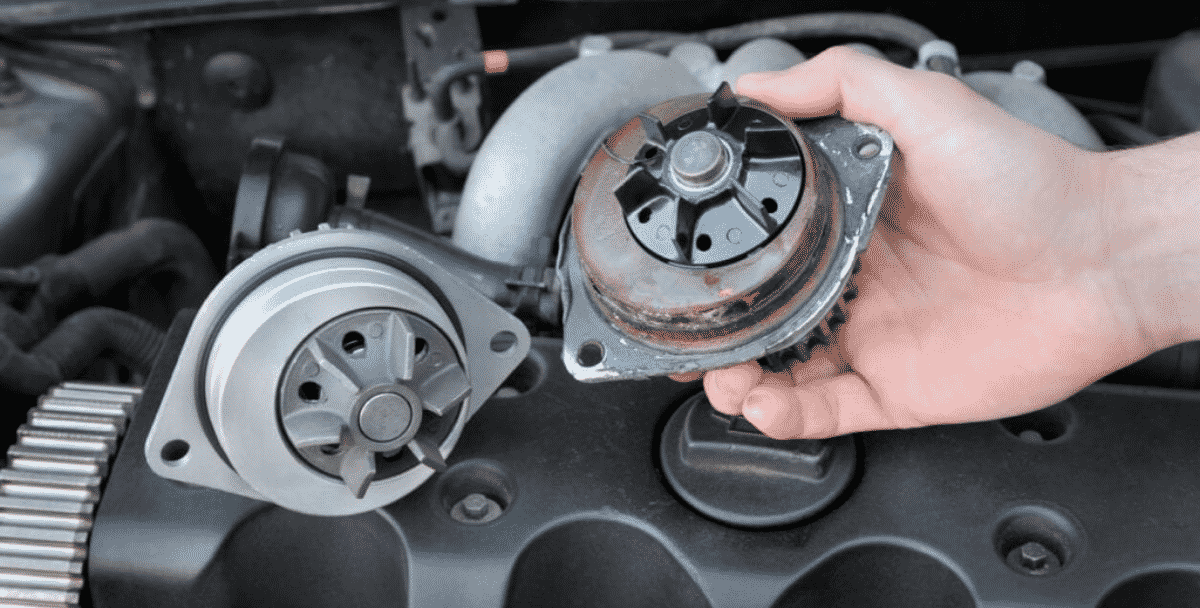
The water pump is critical for circulating coolant through your engine, preventing overheating and costly damage. A failing pump can lead to engine seizures or blown head gaskets. This guide covers how to spot early warning signs and replace your water pump using torque tools for a leak-free, long-lasting repair.
The water pump drives coolant from the radiator through the engine block and back, maintaining optimal operating temperatures. Made of metal and plastic, its impeller and bearings wear over time, leading to leaks or failure.
Key Risks of a Failing Pump:
Engine overheating and warped components.
Coolant leaks damaging belts and electrical systems.
Reduced fuel efficiency from poor temperature regulation.
Catching issues early can save thousands in repairs. Watch for these red flags:
Common Symptoms:
Coolant leaks (puddles under the car or crusty residue around the pump).
Overheating engine (temperature gauge spiking).
Whining or grinding noise (worn bearings).
Steam from the radiator or sweet-smelling exhaust (coolant burning).
When to Replace:
Every 60,000–100,000 miles, or as specified in your vehicle manual.
Immediately if leaks or noises are detected.
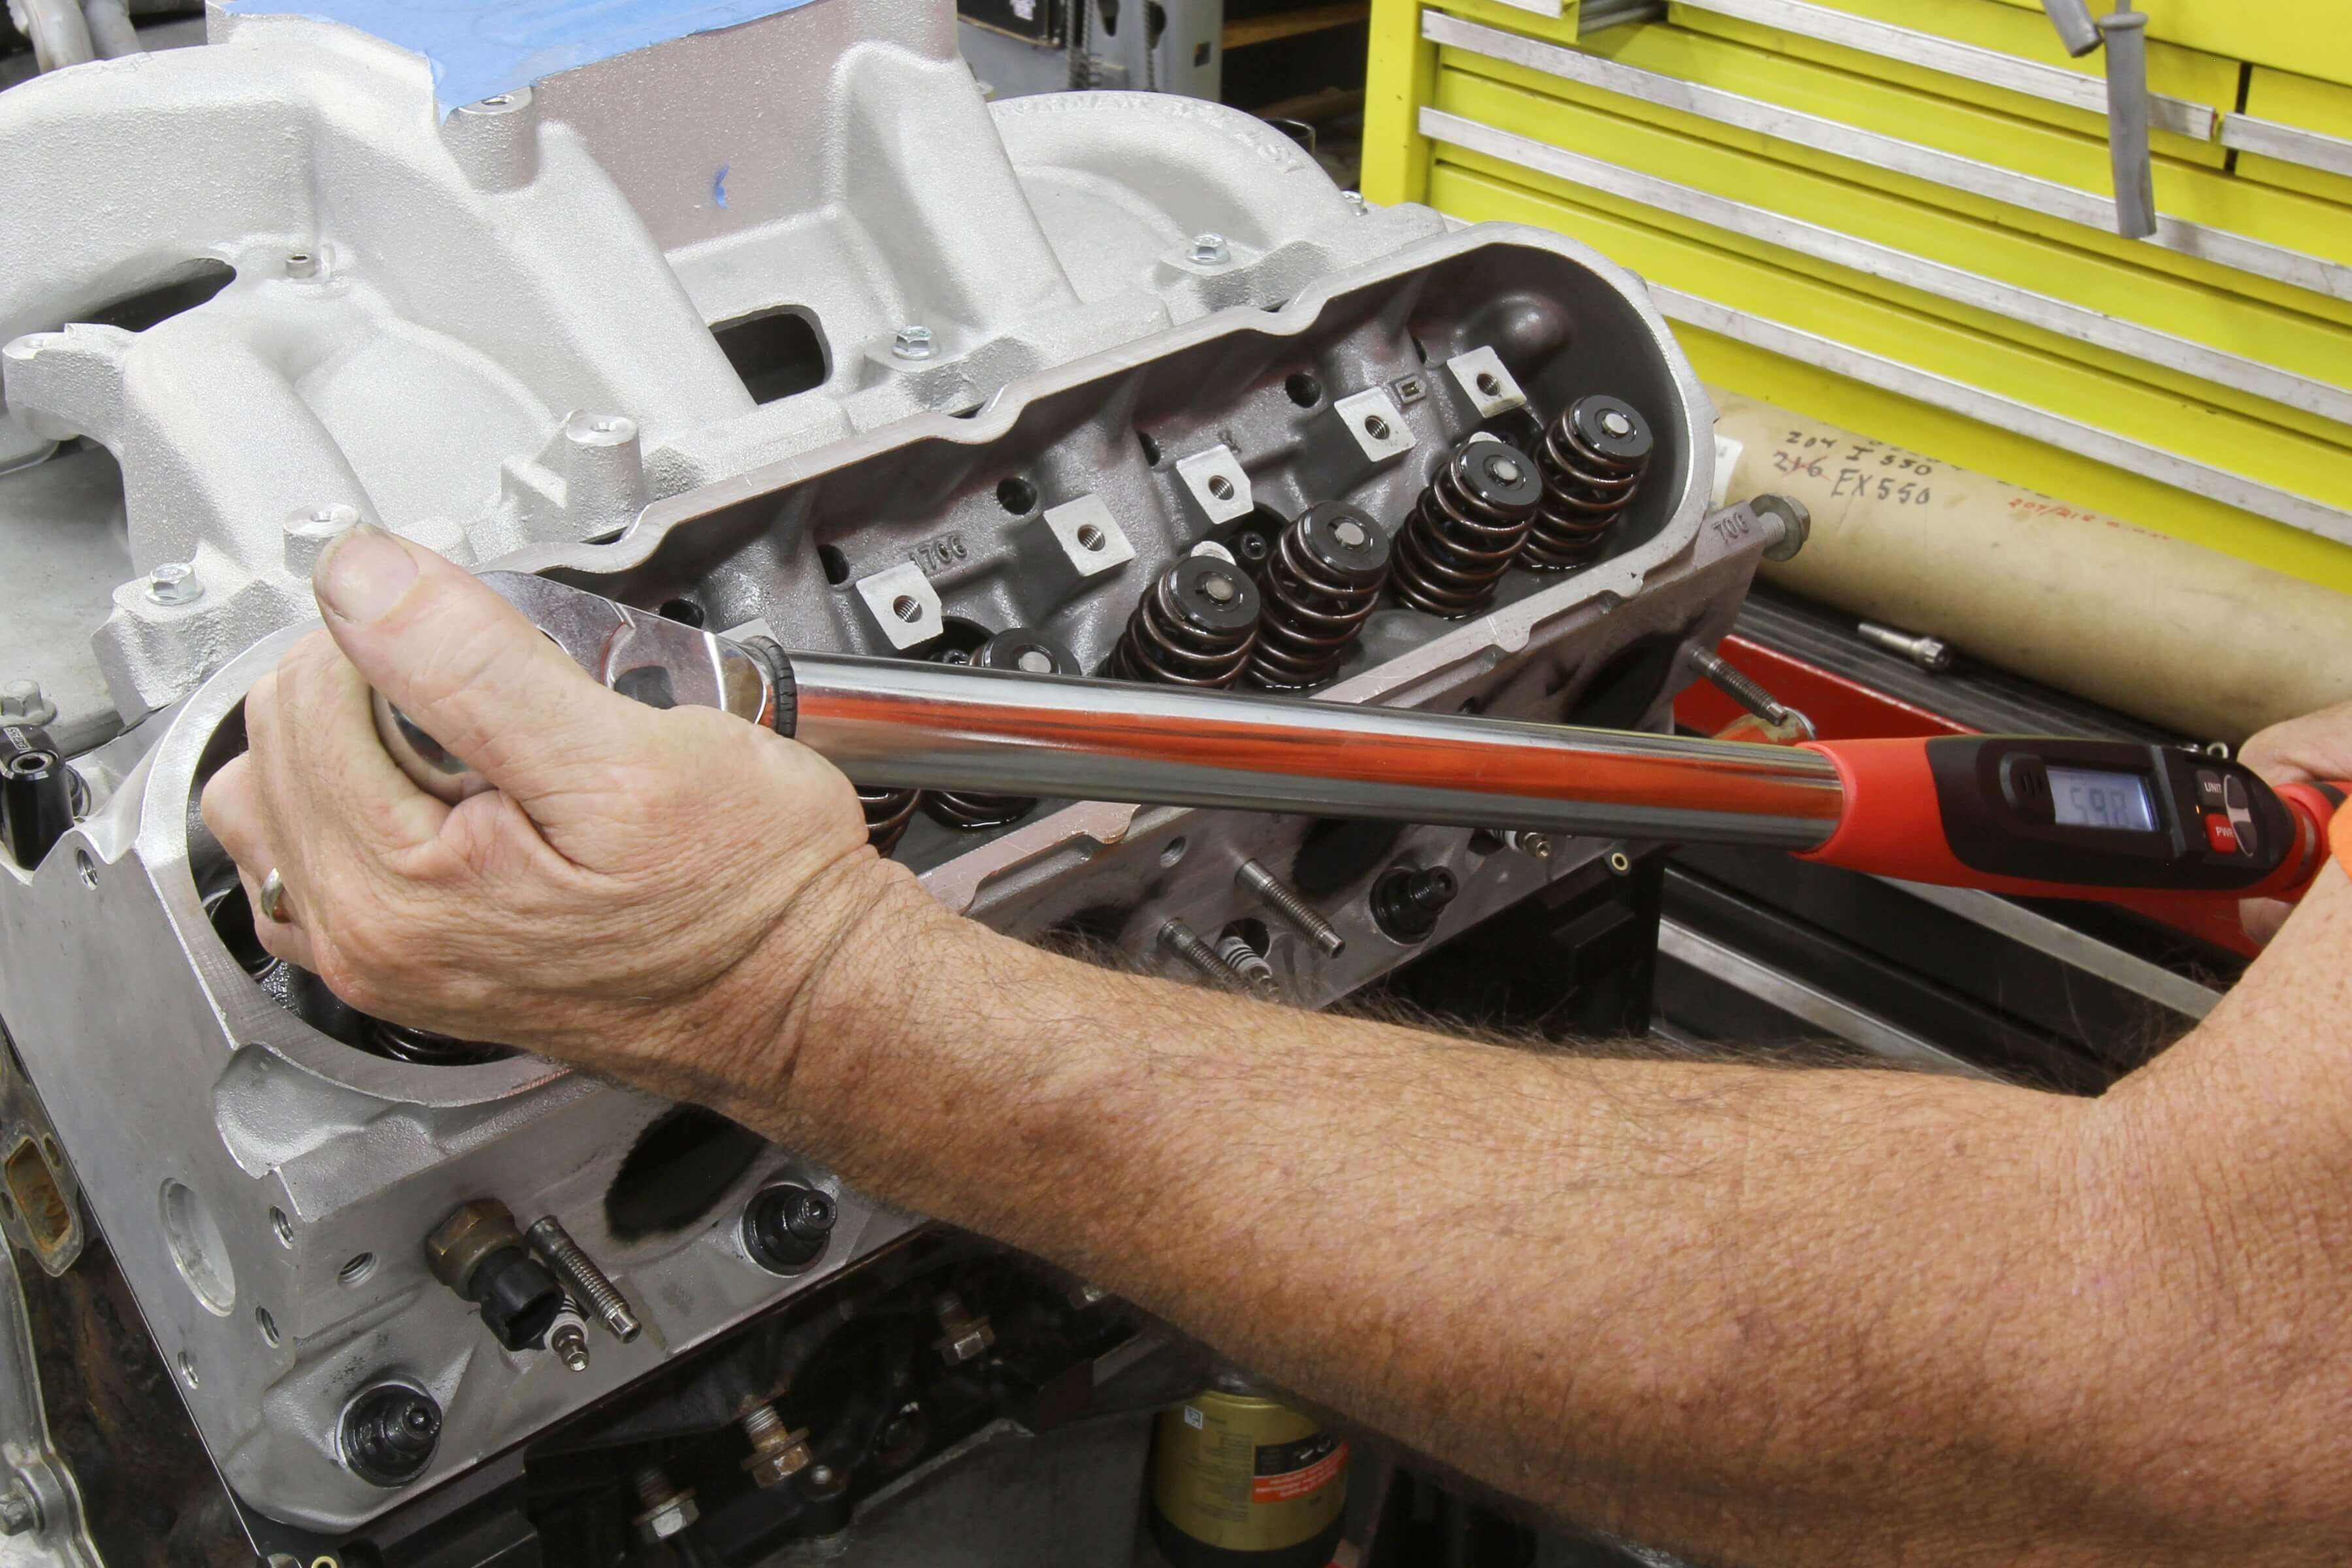
Using torque tools ensures proper gasket sealing and prevents leaks.
Tools & Supplies:
Torque wrench (for accurate bolt tightening).
Coolant drain pan (to collect old fluid).
Gasket scraper and sealant (for a clean mating surface).
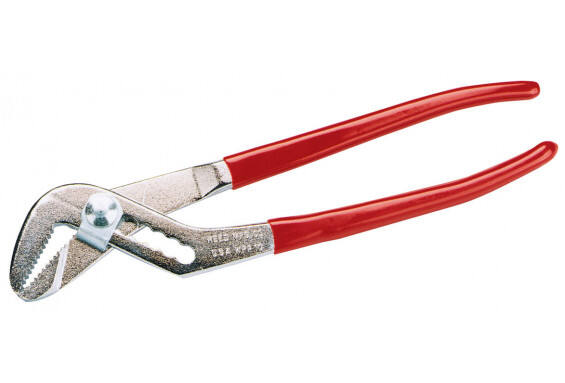
Serpentine belt tool (to safely remove/install belts).
New water pump and coolant (OEM-recommended parts).
Prepare the Vehicle
Let the engine cool completely.
Drain coolant into a pan by opening the radiator drain plug.
Remove the Old Water Pump
Loosen the serpentine belt using a belt tool.
Disconnect hoses and unbolt the pump housing.
Scrape off old gasket material without scratching the surface.
Install the New Water Pump
Apply a thin layer of gasket sealant to the new pump.
Align and hand-tighten bolts in a crisscross pattern.
Use a torque wrench to tighten bolts to the manufacturer’s specification (typically 15–20 ft-lbs).
Reassemble and Refill
Reattach belts, hoses, and refill with fresh coolant.
Start the engine, check for leaks, and bleed air from the system.
Over-tightening bolts: Warps the pump housing, causing leaks.
Skipping the torque wrench: Uneven pressure risks gasket failure.
Using incorrect coolant: Mixing types can cause corrosion.
Prevent leaks: Precise torque ensures even gasket compression.
Avoid damage: Prevents cracked housings or stripped threads.
Longevity: Proper installation extends the pump’s lifespan.
A water pump replacement is a proactive repair that safeguards your engine from catastrophic overheating. By using torque tools and following this guide, you’ll ensure a leak-free installation and reliable performance for years.
Invest in professional-grade torque tools for your next repair. [Shop Now] or contact our team for expert recommendations!
Q: Can I drive with a leaking water pump?
A: No—even a small leak can lead to sudden failure. Replace it immediately.
Q: How do I know which coolant to use?
A: Check your owner’s manual—mixing types (e.g., OAT vs. IAT) can harm the system.
Q: Why does my new pump still leak?
A: Likely due to improper torque or a damaged gasket. Recheck installation steps.
By mastering this repair, you’ll keep your engine cool, efficient, and ready for the road. 🚗💧🔧

Hangzhou Hongtu Machinery Co.,Ltd: Pioneers in the automotive industry,supplying high-quality tools for global auto repair tasks since 2013.
12 Households, Group 13, Zhabei Village, Hangzhou, Zhejiang, China
Copyright © Hangzhou Hongtu Machinery Equipment Co.,Ltd. All Rights Reserved - Privacy Policy


