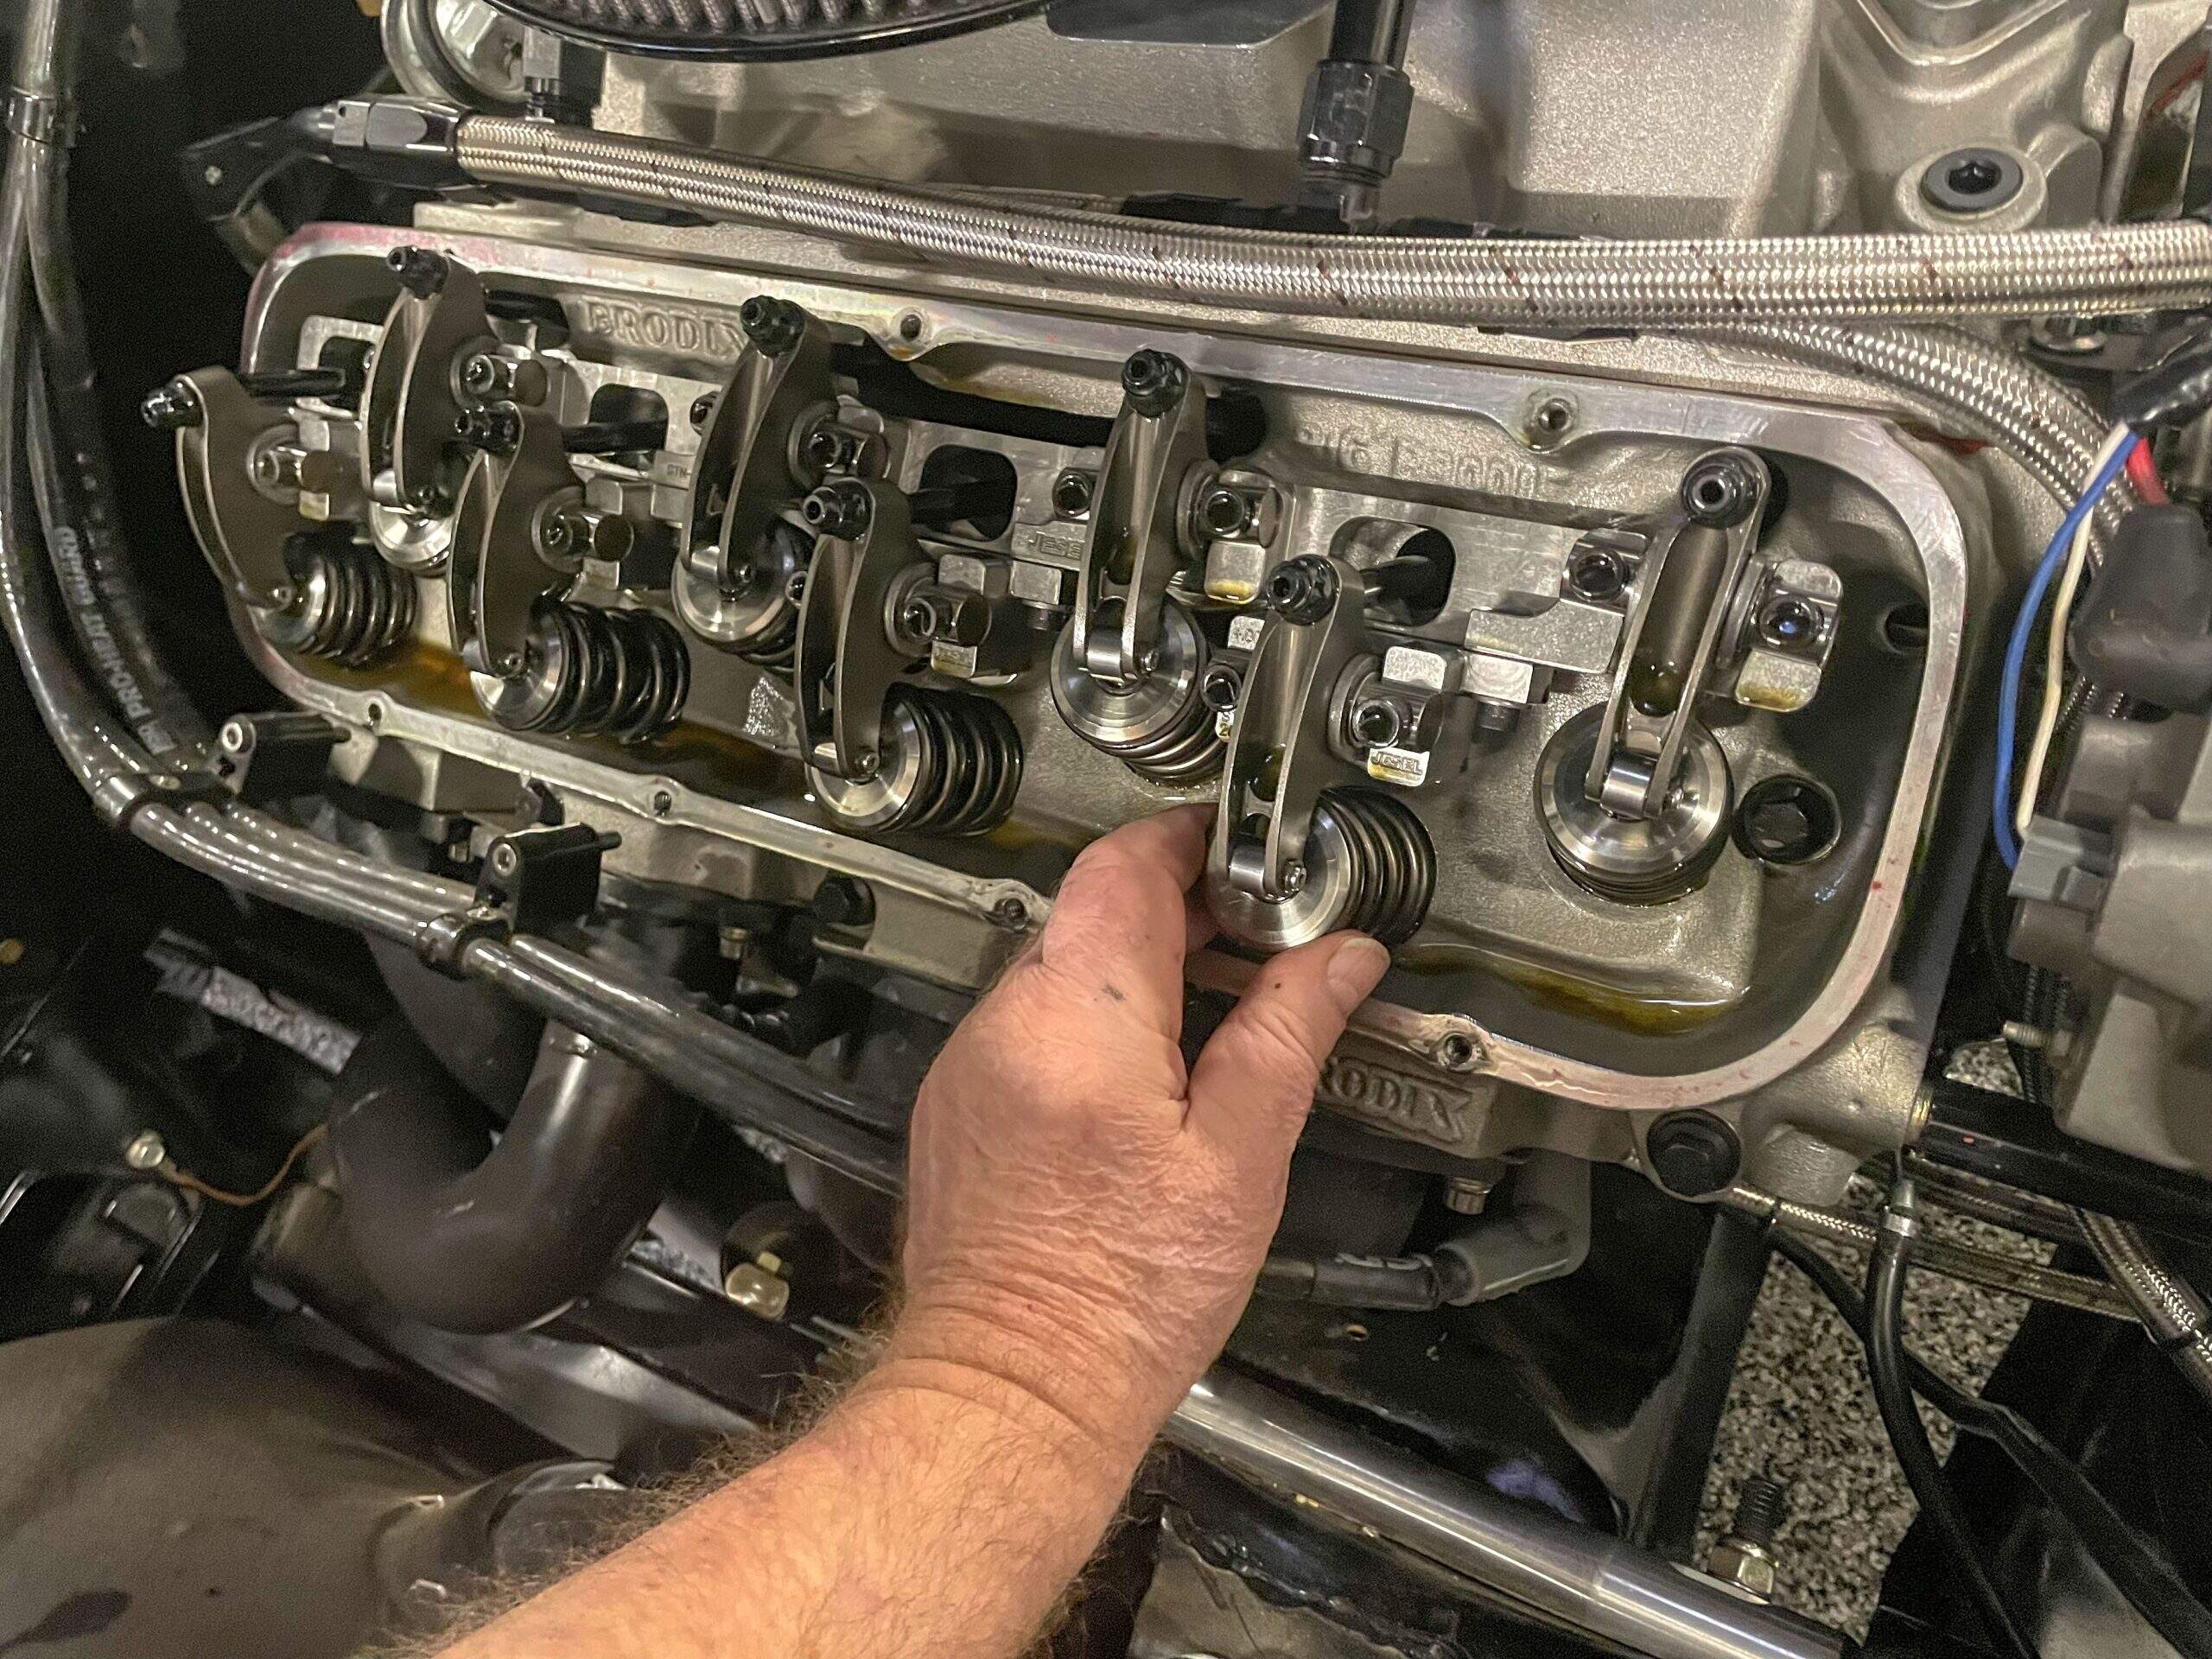
When your engine screams at 8,000 RPM, valve springs are the silent guardians keeping chaos at bay. Their job? Slam the valves shut after each combustion cycle. But when springs weaken, valves can’t close fast enough—leading to valve float, a nightmare scenario where valves hang open, causing power loss, misfires, or even piston-valve collisions. The solution? Proactively test springs with HTL’s valve spring testers to catch fatigue before it destroys your engine.
Valve float happens when spring tension can’t keep up with camshaft speed. This isn’t just a racing issue—street engines with worn springs face the same risk. Common culprits include:
Metal fatigue: Springs lose tension after millions of cycles.
Heat exposure: High temps soften spring steel over time.
Oil breakdown: Sludge or viscosity loss reduces damping.
Symptoms of Weak Springs:
Power drop at high RPM: Valves bounce instead of sealing.
Misfires or backfires: Unburned fuel ignites in the exhaust.
Loud valve train noise: Springs can’t control valve movement.

Guessing spring health by eye is like playing Russian roulette. HTL’s testers eliminate the gamble with:
Digital load cells: Measure tension to within ±1% accuracy.
RPM simulation: Test springs under simulated high-speed loads.
Instant diagnostics: Compare results to OEM specs in seconds.
Ergonomic design: Test on or off the engine with no disassembly.

1. Remove and Clean Springs
Label each spring to track its origin (exhaust vs. intake).
Degrease with solvent to ensure accurate measurements.
2. Mount on the Tester
Secure the spring in HTL’s adjustable fixture.
Set the tester to mimic your engine’s max RPM (e.g., 8,000 RPM).
3. Measure Spring Tension
Compress the spring to its installed height (check OEM specs).
Record the force required—healthy springs typically need 80–120 lbs.
4. Check for Sag
Compare free length to new specs. A 0.5 mm reduction signals fatigue.
Look for cracks or uneven coil spacing under magnification.
5. Replace or Reuse
Discard springs below 90% of OEM tension.
Reinstall good springs with fresh retainers and locks.
Testing cold springs: Warm them to operating temp (70–90°C) for accuracy.
Ignoring seat pressure: Installed height tension matters more than free length.
Mixing old and new springs: Uneven tension causes valve train imbalance.
Prevent catastrophic failure: Spot weak springs before they snap.
Save time: Test all springs in under 30 minutes.
Data-driven decisions: Export reports for customer transparency.
Q: How often should valve springs be tested?
A: Every 50,000 miles or after sustained high-RPM use (racing/towing).
Q: Can weak springs damage camshafts?
A: Yes—valve bounce increases lobe wear and lifter stress.
Q: Do titanium springs need testing?
A: Absolutely. While durable, they still fatigue under extreme loads.
By mastering spring testing, you’ll keep engines singing smoothly at any RPM—no float, no fear. 🏁🚗🔧
