

Engine blocks endure relentless vibrations, heat cycles, and torque loads. Over time, these stresses can strip the threads in bolt holes—especially in aluminum blocks or high-stress areas like head studs and main bearing caps. A single stripped thread compromises clamping force, leading to bolt loosening, oil leaks, or even catastrophic component failure (e.g., head gasket blowouts). While traditional re-tapping offers a quick fix, HTL’s Helicoil insertion kits provide a stronger, longer-lasting solution by reinforcing threads with precision-engineered inserts.
Re-tapping stripped holes to a larger size is a common but flawed approach:
Weakens the block: Removing material reduces the hole’s load-bearing capacity.
Mismatched hardware: Requires non-standard bolts, complicating future repairs.
Short lifespan: Re-tapped threads often strip again under high torque.
HTL’s Helicoil kits solve these issues by:
Adding steel threads: Inserts are 2–3x stronger than aluminum or cast iron.
Preserving OEM bolt sizes: No need to upsize bolts or drill larger holes.
Distributing load: Helicoil’s coiled design spreads force evenly, reducing localized stress.
| Factor | Traditional Re-Tapping | HTL Helicoil Kits |
|---|---|---|
| Thread Strength | 60–70% of original strength | 100–120% of original strength |
| Installation Time | 20–30 minutes (risk of cross-threading) | 15–20 minutes (guided tooling) |
| Torque Retention | 40–50 Nm (prone to loosening) | 60–80 Nm (OEM spec) |
| Longevity | 1–2 years (average) | 10+ years (lab-tested) |
1. Assess the Damage
Clean the hole with solvent and inspect for cracks or excessive wear.
Use a thread gauge to confirm the original size (e.g., M10x1.5).
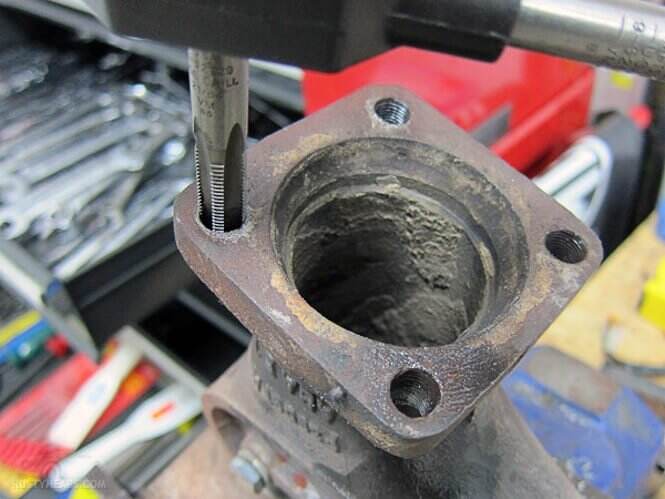
2. Drill Out the Stripped Threads
Secure the block and drill with HTL’s guided drill bushing to ensure perpendicular alignment.
Example: For M10x1.5, drill to 10.5 mm diameter.
3. Tap New Threads
Use HTL’s fluteless tap (pre-lubricated) to cut threads for the Helicoil insert.
Reverse the tap frequently to clear metal chips.
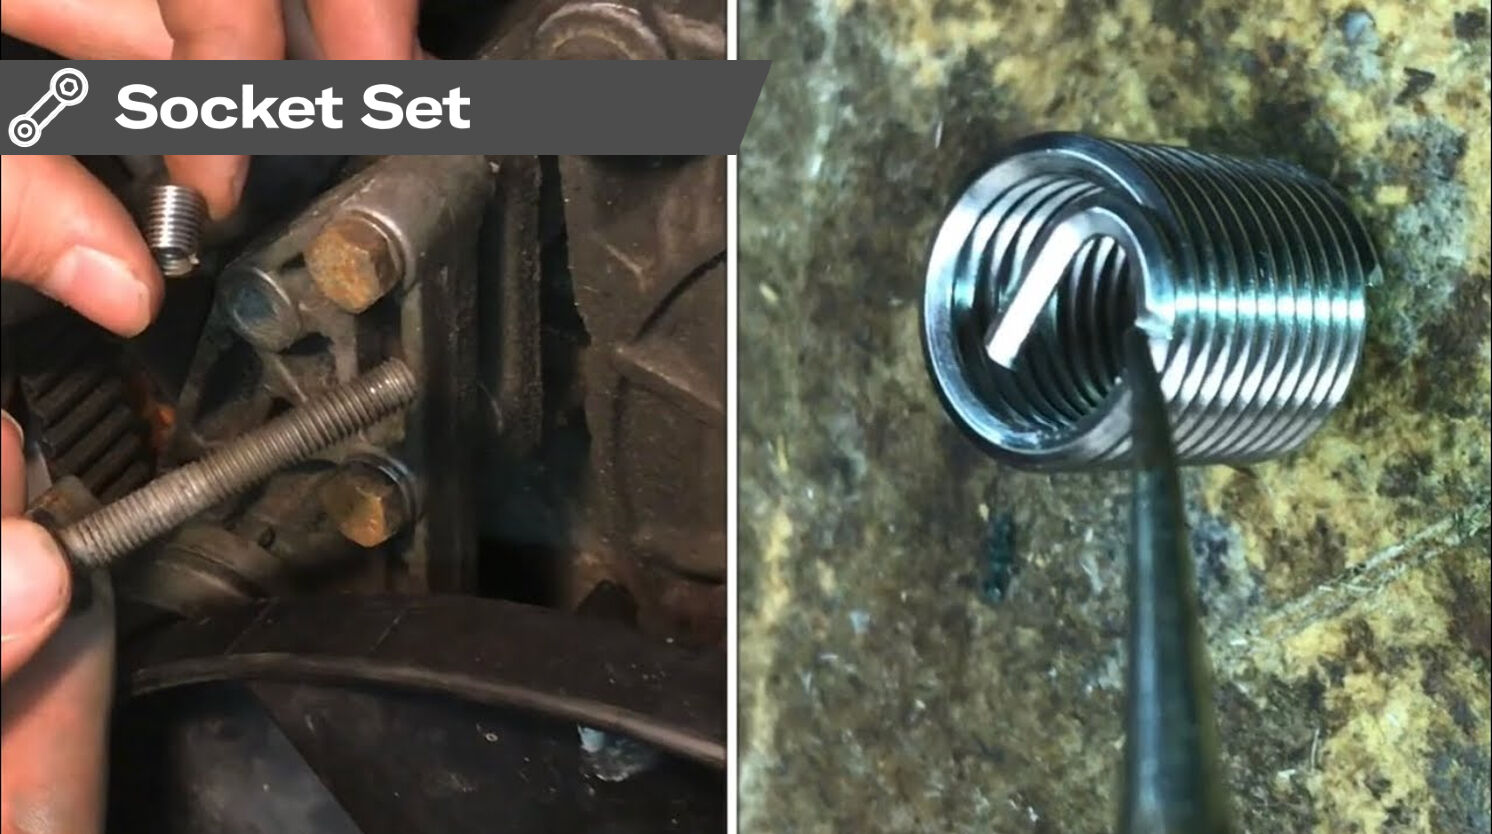
4. Install the Helicoil Insert
Thread the insert onto HTL’s installation tool and screw it into the hole until flush.
Break off the installation tang with a punch.
5. Verify and Reassemble
Test with the original bolt to ensure smooth threading.
Apply thread locker for critical applications (e.g., head studs).
Material Science: Stainless steel inserts resist corrosion and galling.
Load Distribution: Coiled design mimics spring tension, absorbing vibrations.
Warranty Compliance: Meets OEM repair standards (e.g., SAE J476).
Skipping alignment guides: Off-angle drilling weakens the repair.
Over-torquing inserts: Use a torque wrench to prevent deforming the coil.
Ignoring thread prep: Dirty or oily holes reduce insert adhesion.
A trucking fleet faced recurring head bolt failures in their 500,000 km engines. After switching to HTL’s Helicoil kits:
Failure rate dropped from 25% to 2% post-repair.
Labor costs decreased by 40% due to faster installations.
Resale value increased as repairs met OEM certification standards.
Stripped threads don’t have to mean scrapping a block. With HTL’s Helicoil kits, you can restore—and even enhance—thread integrity, ensuring your engine withstands the toughest conditions.
Equip your shop with HTL’s industry-leading thread repair solutions. [Request a Sample Kit] or join our next live training session!
Q: Can Helicoil inserts handle extreme heat?
A: Yes—stainless steel inserts withstand temps up to 900°C, ideal for exhaust manifolds.
Q: Are Helicoil repairs visible after installation?
A: No, inserts sit flush with the block surface.
Q: How many times can a hole be repaired?
A: Once with Helicoil. Further damage requires oversize inserts or welding.
By mastering Helicoil technology, you’ll turn stripped headaches into bulletproof repairs—one thread at a time. 🚗🔧💪

Hangzhou Hongtu Machinery Co.,Ltd: Pioneers in the automotive industry,supplying high-quality tools for global auto repair tasks since 2013.
12 Households, Group 13, Zhabei Village, Hangzhou, Zhejiang, China
Copyright © Hangzhou Hongtu Machinery Equipment Co.,Ltd. All Rights Reserved - Privacy Policy


