

Valve seats are the unsung heroes of your engine’s combustion chamber. Over time, heat, carbon buildup, and wear can create microscopic gaps between the valve and its seat, leading to compression leaks, reduced power, and even engine misfires. For older engines, a poorly sealed valve seat is often the culprit behind poor performance and excessive oil consumption. Professional valve seat lapping—using precision tools like HTL’s diamond-coated grinding kits—restores a perfect seal, ensuring optimal compression and engine efficiency15.
Valve seats endure extreme temperatures and mechanical stress. Key factors contributing to wear include:
Carbon deposits: From incomplete combustion or low-quality fuel.
Thermal cycling: Repeated heating and cooling causing metal fatigue.
Improper valve alignment: Misaligned valves accelerate uneven wear.
Abrasive contaminants: Dirt or metal particles in the fuel or oil.
Symptoms of a Faulty Valve Seat:
Loss of compression (confirmed via compression or leak-down tests).
Blue exhaust smoke (oil burning due to poor sealing).
Rough idling or backfiring.
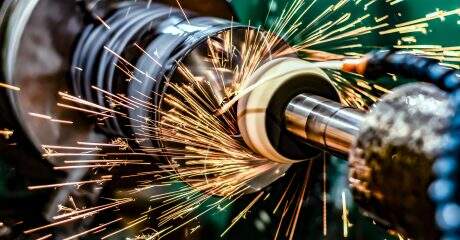
Traditional lapping compounds and manual tools often yield inconsistent results. Hangzhou Hongtu’s diamond-coated grinding tools offer a superior solution:
Diamond abrasives: Cut through hardened carbon and metal without gouging surfaces.
Adjustable pressure control: Ensures even material removal for uniform sealing.
Ergonomic design: Reduces fatigue during prolonged use.
Compatibility: Works with cast iron, steel, and alloy seats15.
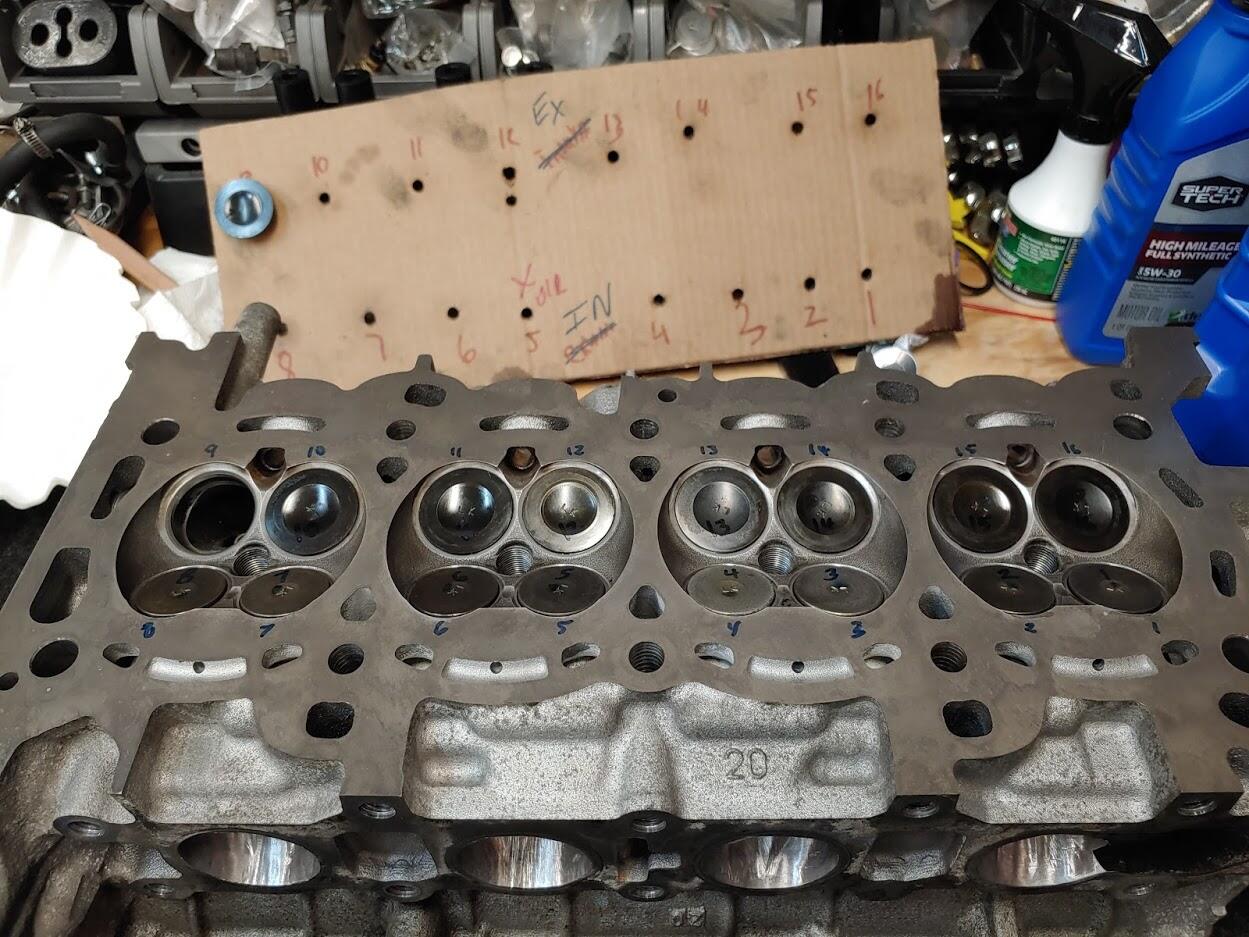
1. Disassemble and Inspect
Remove the cylinder head and valves.
Clean seats and valves with a solvent to remove carbon deposits.
Check for cracks, pitting, or warping using a magnifying glass.
2. Select the Correct Tool
Choose a grinding stone or diamond-coated tool matching the seat angle (typically 45° or 30°).
Attach the tool to a rotary lapper or drill press.
3. Grind the Seat
Apply light pressure and rotate the tool in short, alternating directions.
Periodically check the seat width with a micrometer (ideal range: 1.5–2.5 mm).
Avoid overgrinding—remove only enough material to create a smooth, even surface.
4. Lap the Valve
Apply fine-grit lapping compound to the valve face.
Insert the valve into the seat and rotate it back and forth using a lapping handle.
Continue until a uniform gray matte finish appears on both surfaces.
5. Reassemble and Test
Clean all components to remove abrasive residue.
Reinstall valves, springs, and cylinder head.
Perform a compression test to verify restored sealing.
Skipping the cleaning step: Residual debris accelerates wear.
Using excessive pressure: Risks uneven seating or tool damage.
Ignoring seat angle alignment: Mismatched angles cause leaks.
Neglecting valve guide inspection: Worn guides compromise lapping results15.
Longevity: Diamond abrasives last 10x longer than conventional stones.
Precision: Maintain consistent grit size for repeatable results.
Speed: Reduce lapping time by 50% compared to manual methods.
Valve seat lapping isn’t just a repair—it’s a revival. With Hangzhou Hongtu’s professional tools, even heavily worn seats can be restored to factory-grade sealing, ensuring your engine delivers peak power and efficiency for years to come.
Q: Can I lap valves without removing the cylinder head?
A: No—proper access and cleaning require full disassembly.
Q: How often should valve seats be lapped?
A: During engine rebuilds or when compression drops below OEM specs.
Q: What if lapping doesn’t fix the compression leak?
A: Inspect valve guides or consider seat replacement for severe damage15.
By mastering valve seat lapping, you’ll transform worn engines into reliable powerhouses—one precise grind at a time. 🚗🔧💨

Hangzhou Hongtu Machinery Co.,Ltd: Pioneers in the automotive industry,supplying high-quality tools for global auto repair tasks since 2013.
12 Households, Group 13, Zhabei Village, Hangzhou, Zhejiang, China
Copyright © Hangzhou Hongtu Machinery Equipment Co.,Ltd. All Rights Reserved - Privacy Policy


