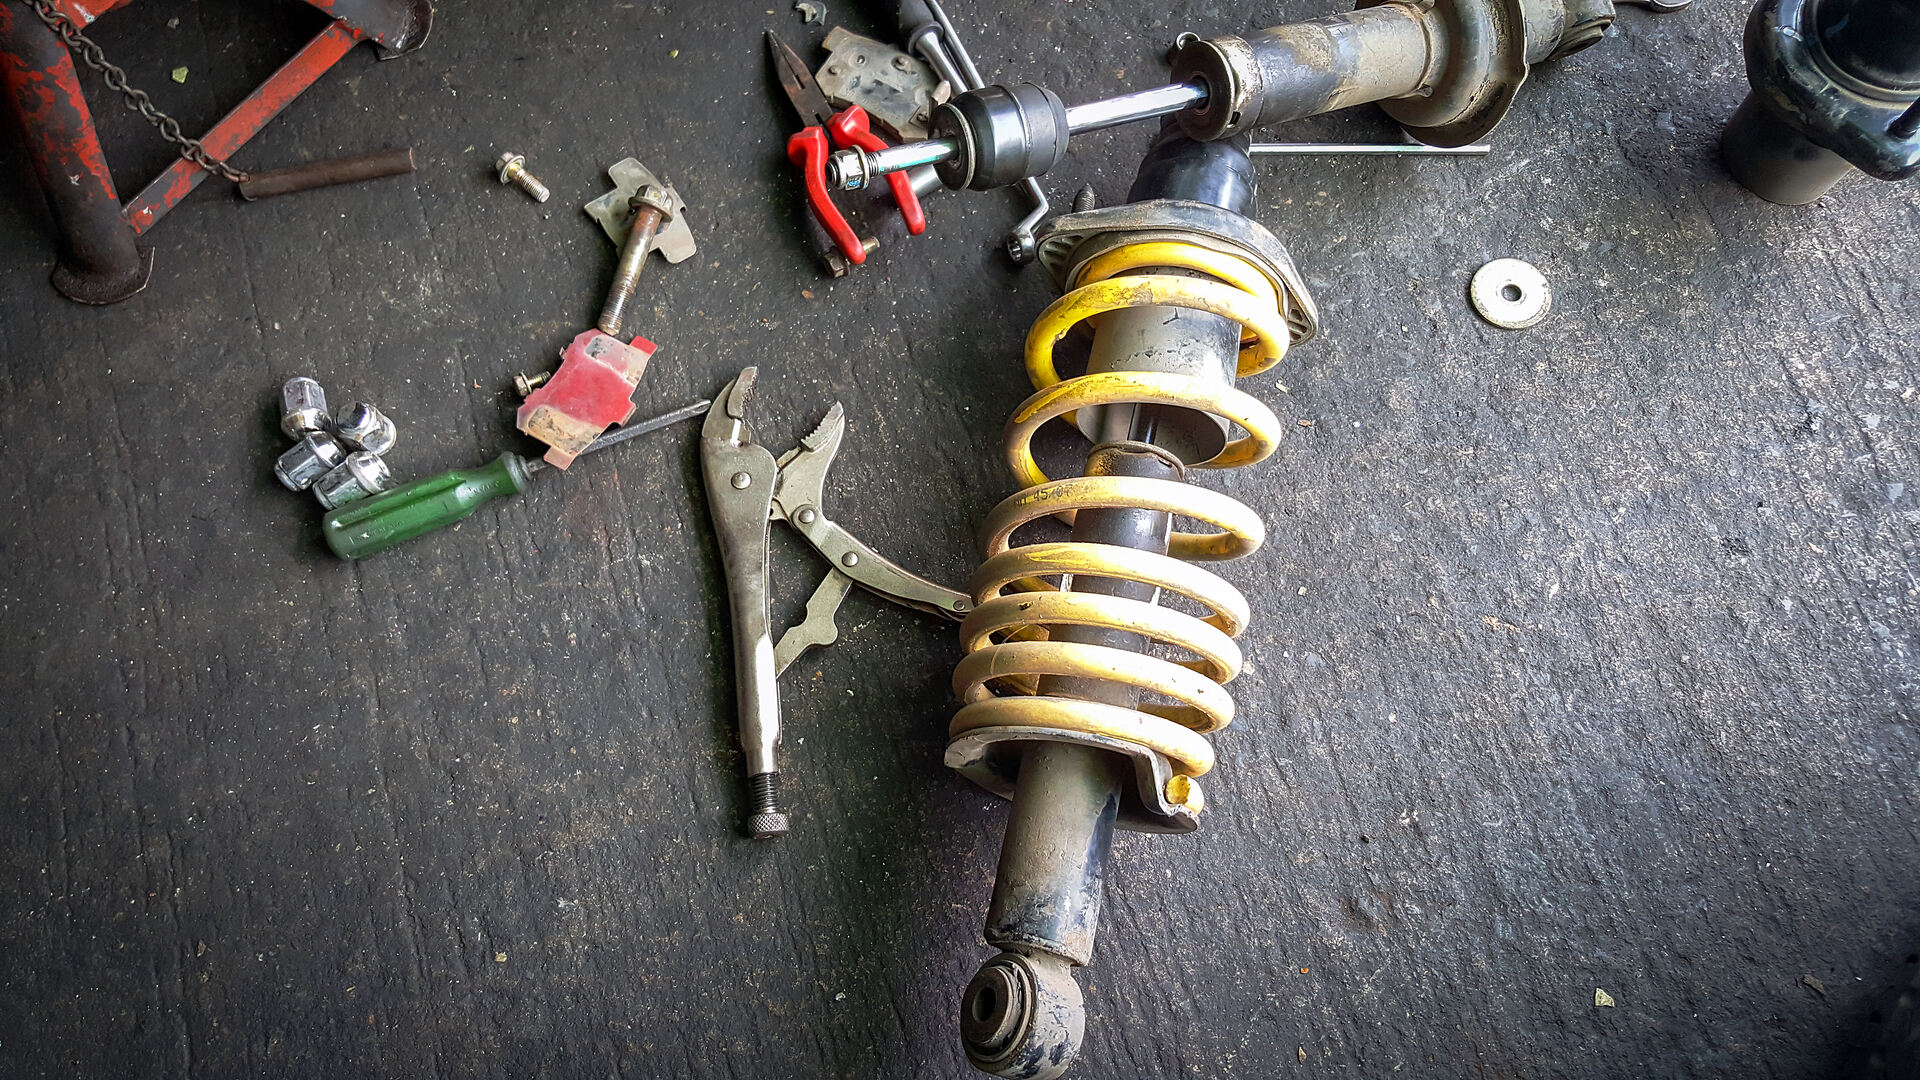
When replacing worn or damaged coil springs, using the right suspension spring tools is critical to avoid injury and costly mistakes. HTL's heavy-duty compressor kits are engineered to simplify coil spring replacement while prioritizing safety and stability. In this guide, we’ll walk through the proper use of HTL’s professional-grade spring compressors to ensure a secure, slip-free process.

HTL’s tools stand out for coil spring replacement tasks due to:
Heavy-duty steel construction: Resists bending under extreme pressure.
Non-slip jaws: Serrated grips minimize slippage risks.
Dual safety locks: Prevents accidental tool disengagement.
Adjustable arms: Accommodates various spring sizes and angles.
Whether you’re a DIY enthusiast or a professional mechanic, these features ensure safe, controlled compression every time.
Park the vehicle on a flat surface and engage the parking brake.
Use jack stands to stabilize the car—never rely solely on a hydraulic jack.
Attach the compressor arms to the spring coils, ensuring the jaws grip evenly on both sides.
Tighten the adjuster bolts until the tool sits snugly against the spring.
Pro Tip: For extra stability, compress the spring incrementally (2-3 turns per side alternately).
Use a torque wrench to tighten the compressor’s central screw gradually.
Stop periodically to check alignment and ensure no slippage occurs.
Once fully compressed, carefully unbolt the suspension components holding the spring.
Gently lower the spring out of its housing.
Reverse the process: Position the new spring and use HTL’s compressor to expand it into place.
Double-check that all bolts and joints are secure before releasing the compressor.
Low-quality spring tools often fail due to:
Weak materials: Prone to bending or snapping under pressure.
Poor grip design: Increases slippage, risking damage to springs or injury.
Lack of safety locks: Tools can dislodge unexpectedly.
HTL’s suspension spring compressor kits eliminate these dangers with rugged engineering and intelligent safety features.
Always wear safety goggles and gloves.
Never stand directly over the spring during compression.
Inspect tools for wear before each use.
Upgrade Your Garage with HTL’s Professional-Grade Tools
Investing in HTL’s compressor kits ensures efficient, damage-free coil spring replacement for cars, trucks, and SUVs. Visit our product page to explore our full range of suspension spring tools engineered for precision and safety.
