

The throttle body controls the airflow into your engine, directly impacting acceleration, fuel efficiency, and overall responsiveness. Over time, carbon deposits and grime build up on its surfaces, leading to sluggish performance. This guide will show you how to clean your throttle body effectively using precision tools to restore peak engine performance.
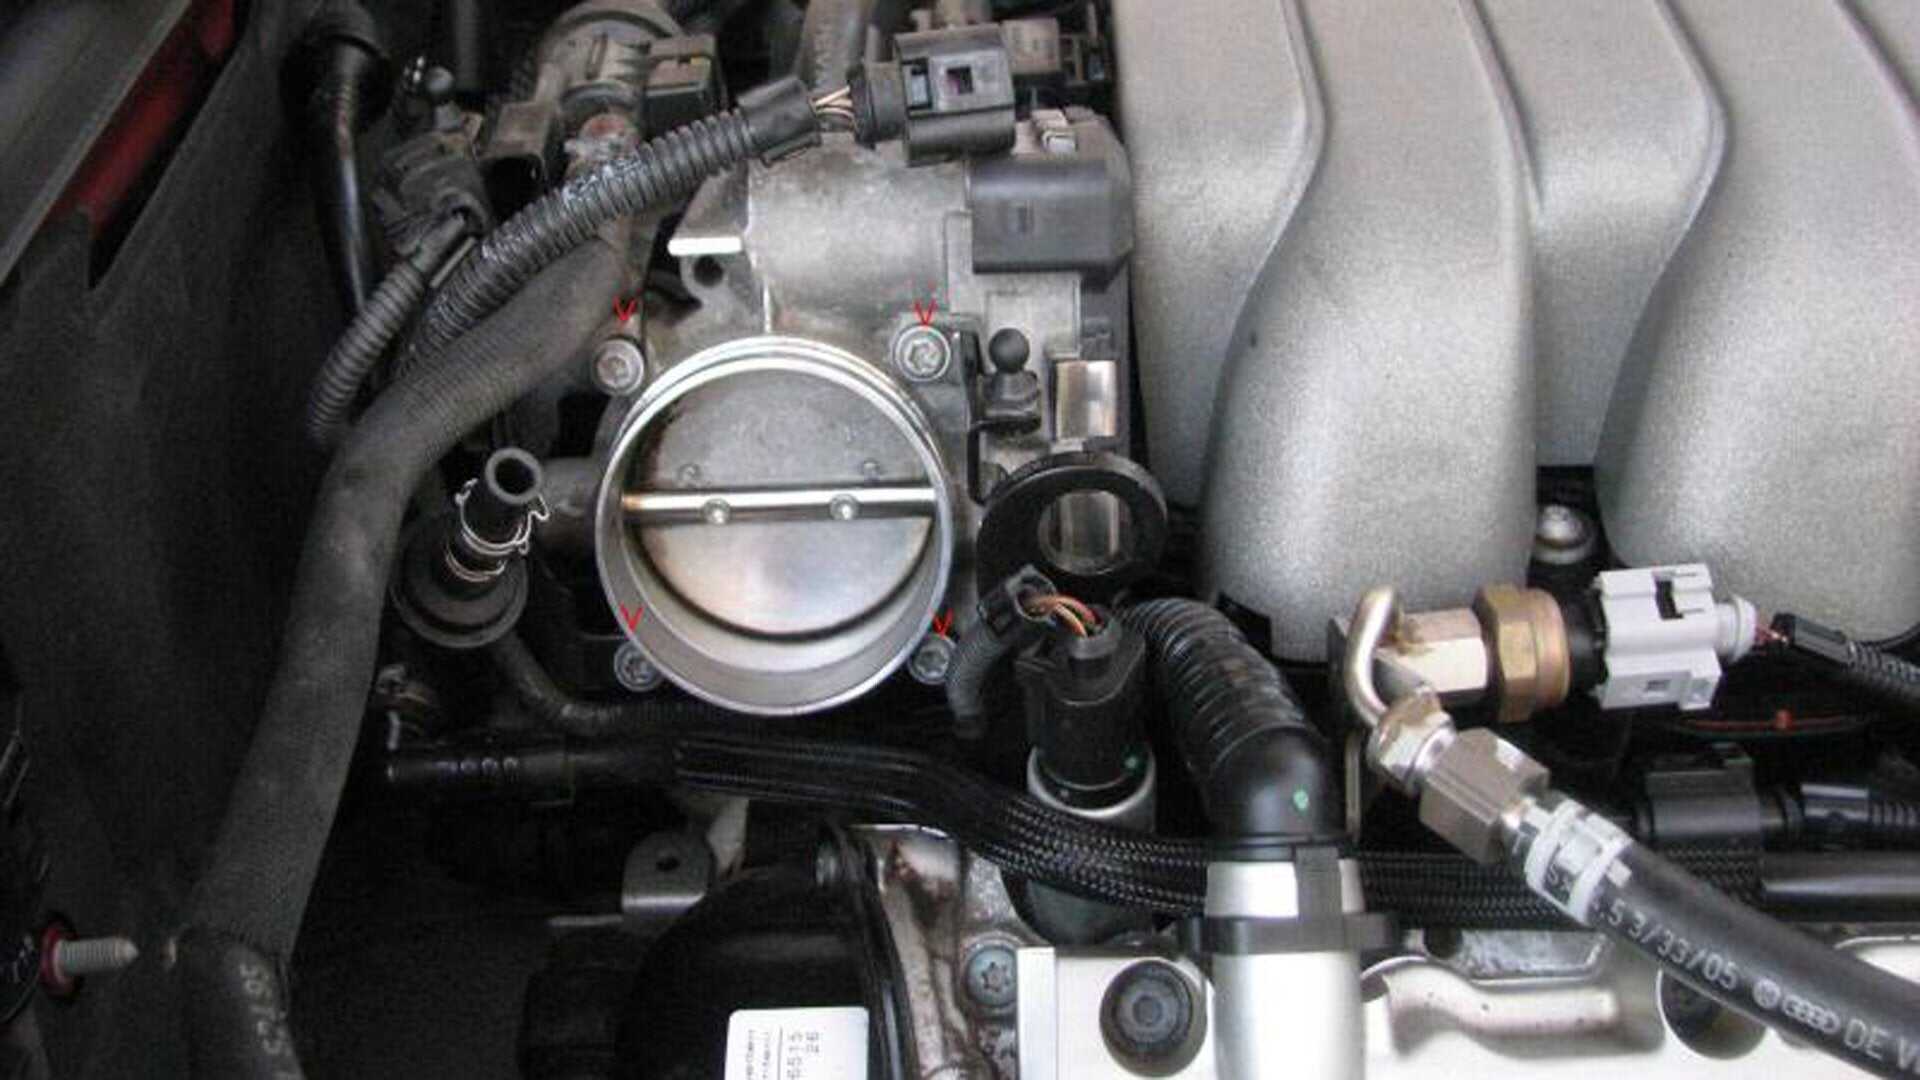
The throttle body is a critical component of your vehicle’s air intake system. It houses a butterfly valve that opens and closes based on driver input (via the accelerator pedal), regulating airflow to the engine.
Key Functions:
Controls air intake for optimal combustion.
Works with the ECU to adjust fuel injection.
Ensures smooth idling and acceleration.
Ignoring throttle body maintenance can lead to poor drivability and increased emissions. Watch for these symptoms:
Common Warning Signs:
Delayed throttle response or hesitation.
Rough idling or stalling.
Reduced fuel efficiency.
Check engine light (codes like P2177 or P2119).
When to Clean It:
Every 50,000 miles or as recommended by your vehicle’s manual.
If you notice carbon buildup during visual inspection.
Using specialized tools ensures a thorough clean without damaging sensitive components.
Essential Tools:
Throttle body cleaner (non-corrosive, safe for electronic parts).
Soft-bristle brushes or microfiber cloths (to scrub deposits).
Torx/hex driver set (for removing throttle body screws).
Torque wrench (for precise reassembly).
Intake system inspection camera (optional, to check for hidden buildup).
Step 1: Prepare the Vehicle
Disconnect the battery to reset the ECU and prevent electrical issues.
Let the engine cool completely.
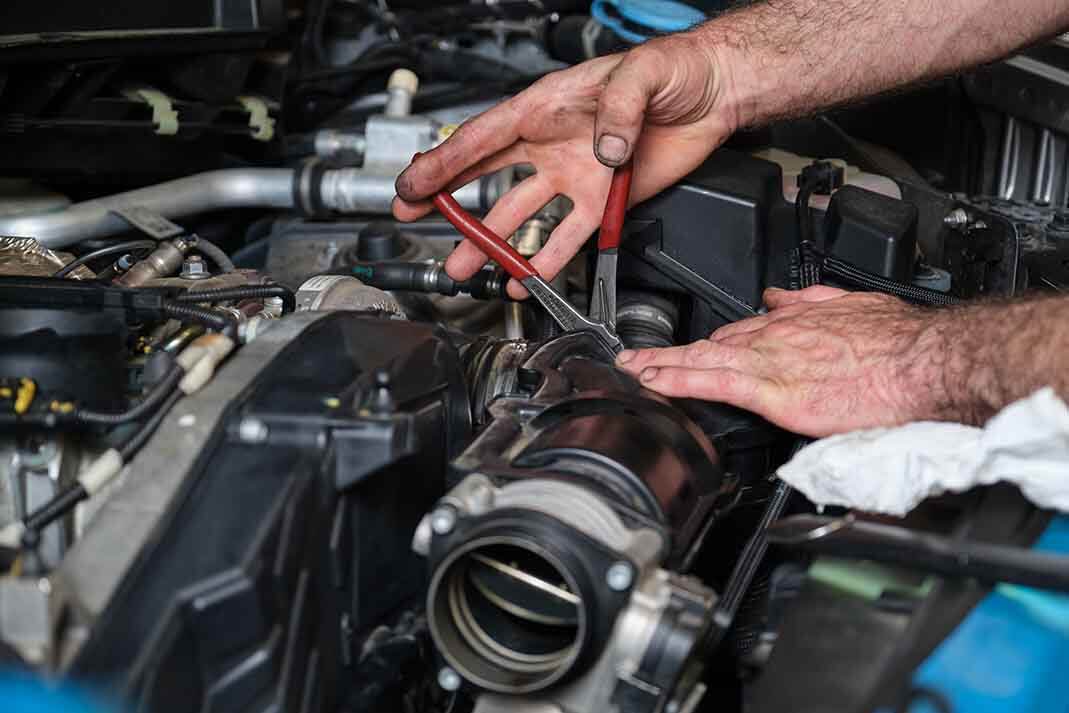
Step 2: Remove the Throttle Body
Loosen the intake hose clamps and detach the air intake tube.
Unplug the throttle position sensor (TPS) and idle air control valve (IACV) connectors.
Use a Torx/hex driver to remove the throttle body mounting bolts.
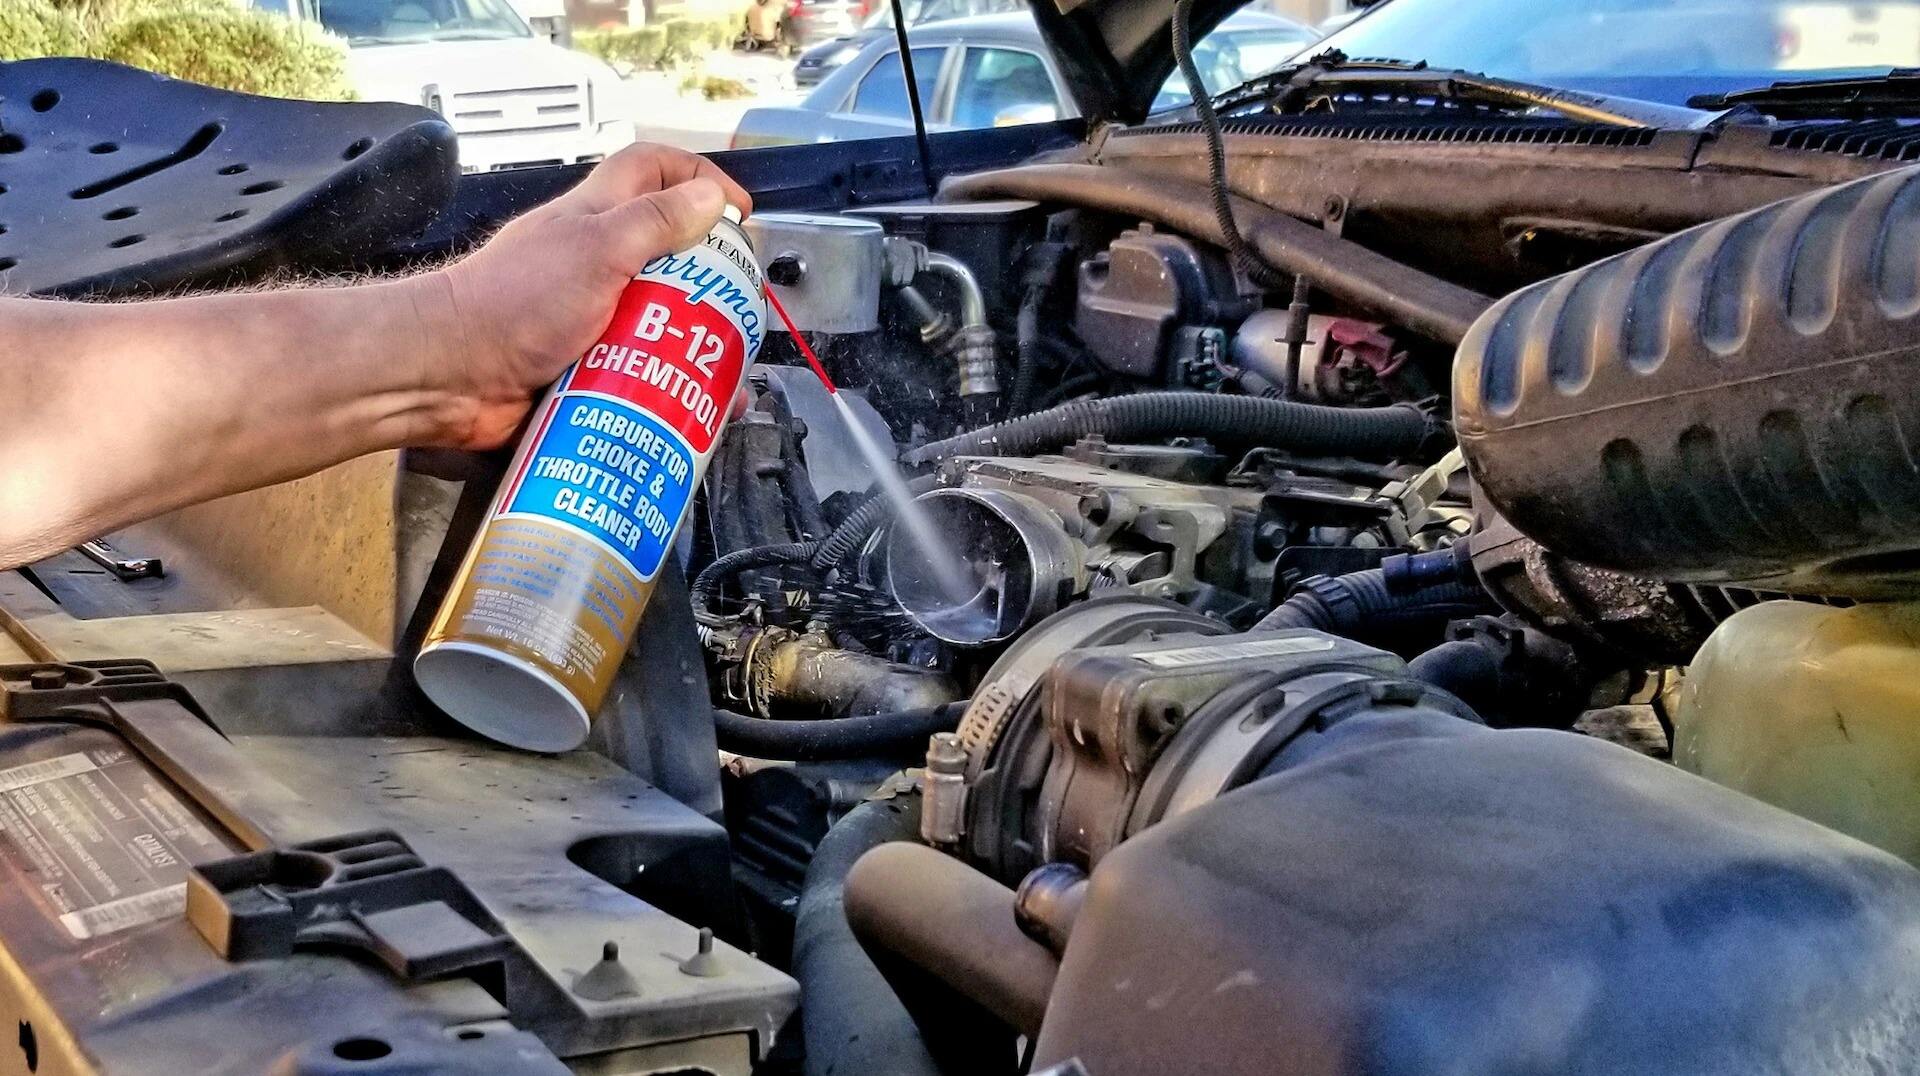
Step 3: Clean the Throttle Body
Spray throttle body cleaner onto a cloth or brush.
Gently scrub the butterfly valve, bore, and edges to remove carbon deposits.
Avoid forcing the valve open—let the cleaner dissolve grime naturally.
Step 4: Reinstall and Recalibrate
Reattach the throttle body and torque bolts to manufacturer specs.
Reconnect electrical connectors and the air intake tube.
Reconnect the battery and let the ECU relearn idle settings (start the engine and let it idle for 10 minutes).
Using abrasive materials: Scratching the throttle bore disrupts airflow.
Ignoring gasket replacement: A worn gasket can cause vacuum leaks.
Skipping ECU recalibration: This may lead to erratic idling.
Protect sensitive components: Non-corrosive cleaners and soft brushes prevent damage.
Ensure proper torque: Avoid overtightening bolts with a calibrated torque wrench.
Save time: Specialized tools streamline the cleaning process.
A clean throttle body restores crisp acceleration, smoother idling, and better fuel economy. By using precision tools and following this guide, you’ll extend the life of your engine and avoid costly repairs.
Upgrade your toolkit with our professional-grade throttle body cleaning supplies. [Shop Now] or contact our team for expert advice!
Q: Can I clean the throttle body without removing it?
A: While possible, removing it ensures a thorough clean and prevents debris from entering the engine.
Q: How do I reset the ECU after cleaning?
A: Disconnecting the battery for 15 minutes typically resets the ECU. Some vehicles may require a scan tool.
Q: Is throttle body cleaning necessary for newer cars?
A: Yes, even modern engines accumulate carbon buildup over time.
By following this guide, you’ll breathe new life into your engine and enjoy a smoother, more responsive drive. 🛠️🚗

Hangzhou Hongtu Machinery Co.,Ltd: Pioneers in the automotive industry,supplying high-quality tools for global auto repair tasks since 2013.
12 Households, Group 13, Zhabei Village, Hangzhou, Zhejiang, China
Copyright © Hangzhou Hongtu Machinery Equipment Co.,Ltd. All Rights Reserved - Privacy Policy


